If your prints haven’t been turning out the way they normally do, it may be time to reevaluate your screen printing methods and the tools you are using. The success of your screen printing business heavily depends on the quality of work you’re producing. Get your print quality back up to standard by attempting a few of these screen printing troubleshooting tips.
1. Find the solution to fibrillation
Having issues with fibrillation? Fibrillation is when the fabric looks raised and frayed. It can appear textured and make your print look not as smooth as you may like. This may be especially true when printing on top of extremely soft or lightly knitted fabrics. While super soft fabric can produce an extremely comfy shirt, it can be somewhat troublesome when it comes to screen printing. Since the material is usually brushed to give it a softer touch, those same fibers can raise during the printing process, causing fibrillation. To help fix this, print on top of a tight knit fabric instead.
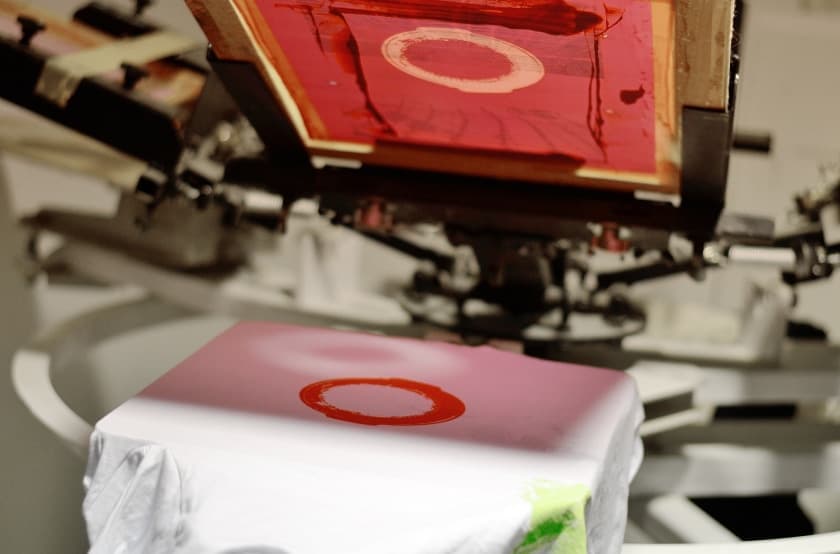
Another cause of fibrillation can be due to overworking your ink when printing. By pulling the ink back and forth during the print process, the fabric can become distressed, which pulls the fibers up and away from the garment itself. Use the proper amount of pressure and similar stroke direction in as few strokes as possible to complete your print and avoid fibrillation.
On dark-colored garments using white ink, you might want to flash cure in between prints to give that ink an extra barrier before settling down. This can not only reduce fraying, but it can also prevent your white ink from looking grey.

2. Picking the paint
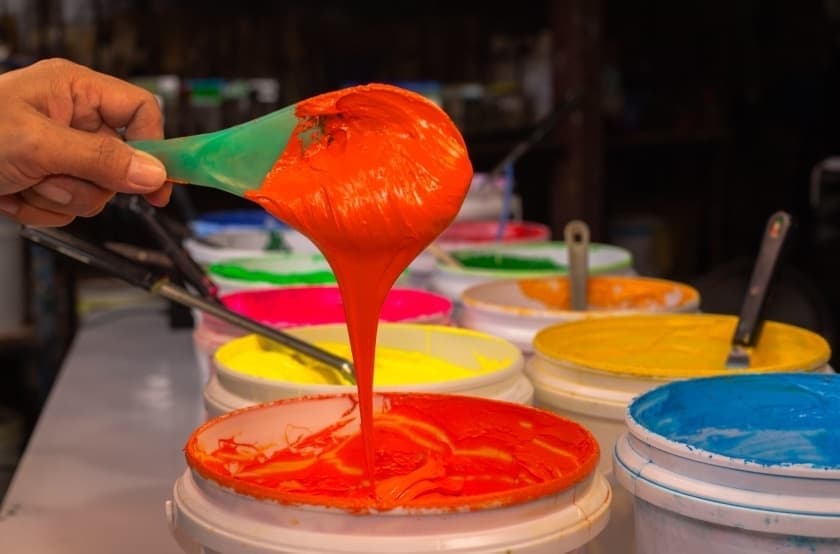
If you are having trouble with your ink, first check to make sure you are using the right type of ink. For screen printing, plastisol ink usually works best. This type of ink is thick, opaque, and covers well over all types of garments. Ink that is too thin can soak right through, seemingly disappearing from the garment altogether.
If you find your prints to be “bleeding”, try removing any buildup from the screen’s edges. Buildup usually causes some transfer from the screen to garment, making your edges appear as though they have bled. Start fresh and you should have a cleaner print!
3. Try a different squeegee
Flood each screen with the right amount of ink and push the ink through with a well-edged squeegee. Using an old or ill-fitting squeegee can result in poor ink dispersion, uneven coating, and splotchy prints. Each flooding motion should feel firm but smooth. It helps to have replacement heads for your squeegees on hand in case one gets damaged or wears down more quickly than you thought. Quickly swap out any unwanted squeegee head and proceed with your print.
4. Cure but don’t crack
Screen prints should appear sharp but still have the flexibility that is desired with everyday wear such as t-shirts. You want the design to look clean but not cracked. If you continue having problems with cracked prints, reassess how you are curing them. 320˚F for one minute is the standard throughout the screen printing industry. You might notice that thicker cured inks take longer to set.
5. Machine maintenance
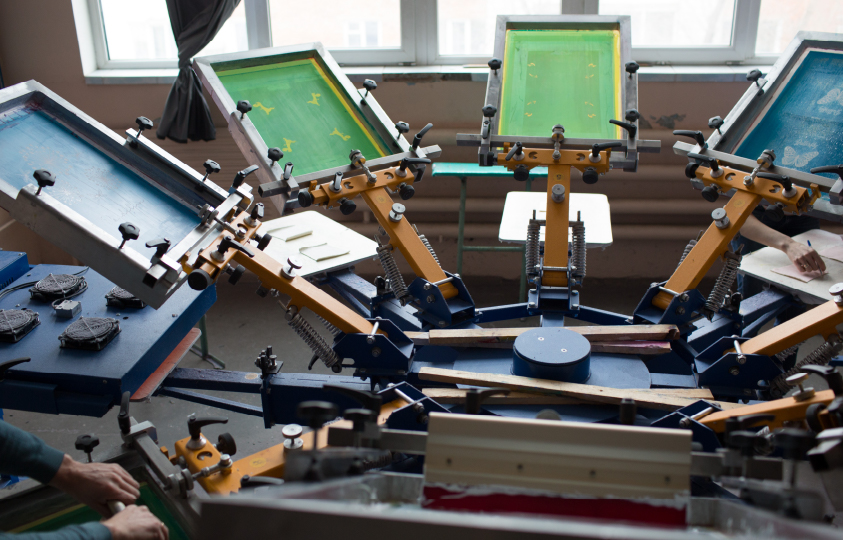
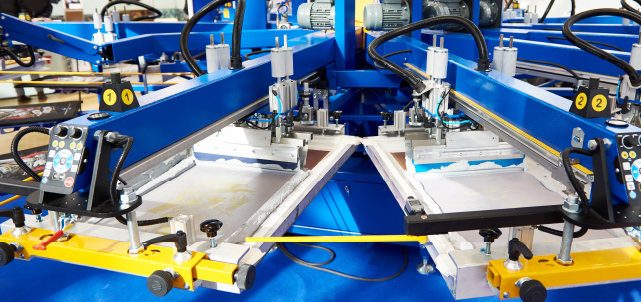
Creating a checklist for your screen printing machine might help when attempting to figure out why your prints aren’t up to par. Some key things you will want to include in this checklist are:
- Make sure your pallet is secured and on tight.
- Adjust clamps to make sure they are locked into place with the proper amount of pressure to clamp.
- Clean your equipment well and it will run more smoothly.
- A poorly made or overused stencil can ruin your beautiful prints. A good stencil is durable and allows a thick emulsion without letting the ink get everywhere.
Stay up-to-date within the industry and find screen printing troubleshooting solutions like this and more on our blog page. You can also browse our selection of screen printing equipment to keep your print business up and running with the latest screen printing technology.


