Learning the correct way to clean screen printing screens may not be the most exciting task, but it is essential for producing quality prints. After finishing a screen printing design, whether at the end of the day or when a print job is complete, the screen should be properly cleaned. If the screen is not cleaned after use, especially for water based inks, it will end up being more difficult to fully remove leftover ink that can cause damage to the screen, jeopardizing future prints. If you have struggled with how to clean screen printing screens from ink and other residue, or are making sure your current method is correct, continue reading for a simple step-by-step process that will leave you with quality designs for the next print job.
Reusing The Screen
There are two options for how the cleaning process can be performed when cleaning screens; whether you will be reusing the screen or reclaiming it.
For reuse, it is not a requirement to take the tape off the sides of the screens. What you will need to do is take a dry towel or rag to wipe off any excess ink that has formed during screen printing. After doing this, spray the screen with cleaning solution using a rag to work it in. If you will be working with the same ink color for the next print run, the screen does not have to be as carefully cleaned compared to switching to another ink color. Be sure to clean the screen to the point where you can see through the emulsion for the next job.

Reclaim Screens
For reclaiming screens, follow this guide and please remember to always wear gloves and eye protection when dealing with chemicals.
1. The first thing to do is take any tape or plastic off the sides or on the surface of the screen. This will ensure that all the ink will be removed.
2. After this, remove the ink that has formed on the screen with a squeegee or scrape off the excess and place it into a container if you plan on reusing it.
3. Use a rag to remove any leftover ink from the screen as well as ink on the squeegee to prevent it from drying. Another option is to remove ink with a piece of wax paper or sheet of plastic. This is an easy method of removal without applying excess chemicals onto the screen.
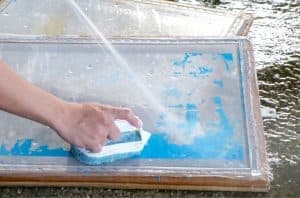
4. Lay the screen onto a horizontal surface making sure that the print side is facing up. Using screen reclaimer, spray a generous amount onto the screen letting it soak in for approximately 2 minutes or as otherwise stated from the manufacturer’s instructions. If you leave the cleaner on for a longer duration of time it poses a chance of damaging your screen. Another option is to soak the screen with Isopropyl Alcohol using paper towels or a rag and letting it sit for a couple of minutes.
5. After letting the cleaner sit, break up the emulsion by lightly scrubbing the screen with a coarse brush. Wash away the cleaner and any scrubbed up residue with a pressure washer that ranges from 1,500 to 2,000 PSI. If you notice that after using the pressure washer there are still areas that have ink buildup, double-check the tension on your screens since screens that have a loose tension will have a higher chance for unnecessary ink buildup. For retensionable screens, increase the tension of the mesh to make the cleaning process easier. If there is not a problem with the tension, try turning the screen over to the other side to power wash it or repeat the process of scrubbing in the solution and powerwashing it off until getting desired results.
 6. After applying the emulsion remover and using a power washer, apply a degreaser onto the front and back of the screen. This will remove any leftover impurities. If this step is missed, there is a chance that the emulsion will not stick well to the screen later on. Scrub the degreaser onto the screen’s surface and rinse off with the power washer.
7. Lastly, let the screens dry naturally but fairly quickly. Place the screen near a window, open area, or a room with little humidity to avoid pinholes or stencil damage. If after the screen dries there is a ghost image, simply use a haze remover to expunge it.
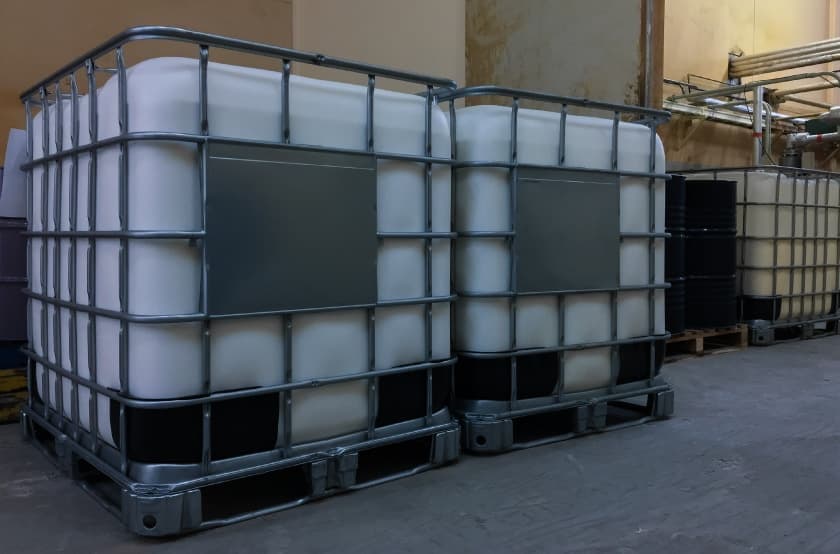
Dip Tank Ease
If you plan on reclaiming several screens and are limited on time, it might be wise to invest in a dip tank. It is as easy as purchasing Dip Tank Solution and following the mixing instructions. After the solution and water mixture is prepared, you can place your screens into the dip tank for approximately 3 to 5 minutes and take them out to pressure wash them. This will leave your screens in great condition and extend their lifespan.
Now that you have read how to clean screen printing screens, don’t forget to check out our blog for more helpful tips and processes to make your print jobs and cleanups smoother. You can also contact us if you have any questions or are looking for the best in pre-press equipment for screen printing.