The process of how to make screen print transfers is fairly simple and can be an efficient solution for business owners looking to expand their business and gain additional profits. Screen print transfers, also known as plastisol heat transfers, are screen printed images that are printed in reverse on transfer paper, placed face down against a shirt, heated, and peeled off to show a beautiful print.
Screen Print Transfer Process
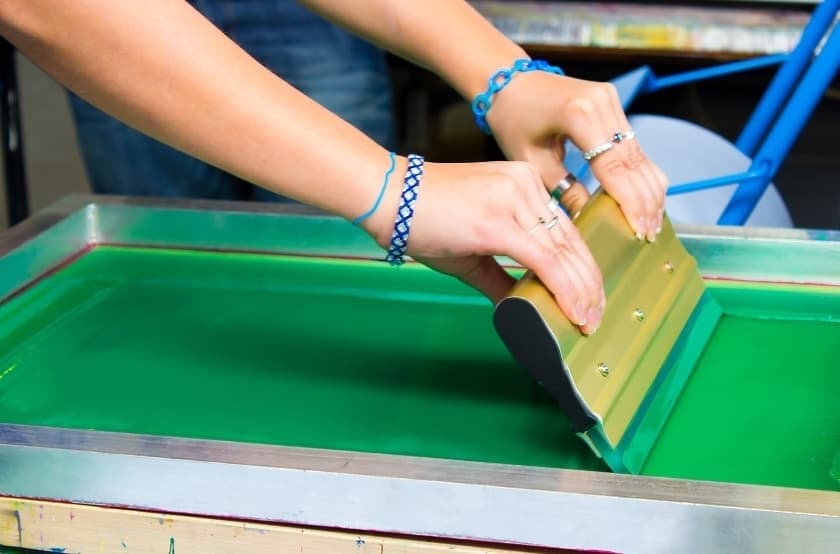
- When printing on paper, you want to have good screen tension. Use approximately an 8th or 16th inch of off-contact so the screen mesh can release ink onto the transfer paper.
- At a 70-75 degree squeegee angle, apply medium pressure, flood it using one squeegee stroke, and then let the ink release after printing.
- Flash cure the ink from 180-260 degrees Fahrenheit, but do not allow it to get hotter than 280 or the ink may overcure.
- Print the final color (for multicolored designs) leaving the ink wet to give the adhesive powder something to stick to. Sprinkle adhesive powder onto the paper in an open bin, cascade the powder over the entire print area, and tap off the excess powder after it has had the chance to stick to the wet ink.
- Run it through the dryer making sure that transfer ink gets to 275 degrees Fahrenheit to gel cure. If it gets too hot, the design will not release onto the garment.
- When your print transfer is ready to be heat pressed, double-check that the paper does not have any unintentional markings that could transfer on the shirt. If so, cut these out.
- Set the heat press to 330 degrees Fahrenheit for approximately 10-12 seconds with medium pressure and peel back your transfer sheet to reveal a beautiful print.
Much like screen printing, when using a light garment, you only need to do one underbase coat versus a print, flash, print underbase for a darker garment.

Advantages of Screen Print Transfers
There are several advantages to using screen print transfers. They are great for offsite events due to their easy transportability, are perfect for printing on demand, and offer a stress-free approach to last minute orders. They can be printed in single or multicolor, which makes it easy to produce custom transfers for customers. Additionally, you have the opportunity to make hundreds of pre-printed designs, store them aside, and then heat press them on when they are needed for a print job. Printed transfers are also useful for items that are hard to print on with a direct-to-screen or direct-to-garment printer. This process makes creating intricate designs on caps, name tags, and individualized jerseys possible with quicker production times.

Needed Tools & Overall Process
Here are the supplies that you will need to accomplish screen print transfers:
- Standard screen printing equipment such as squeegees, screen printing press, and heat press
- 110-156 mesh screens
- Dual edge scoop coater that has both a round and thin coating edge
- Transfer paper
- Transfer adhesive powder
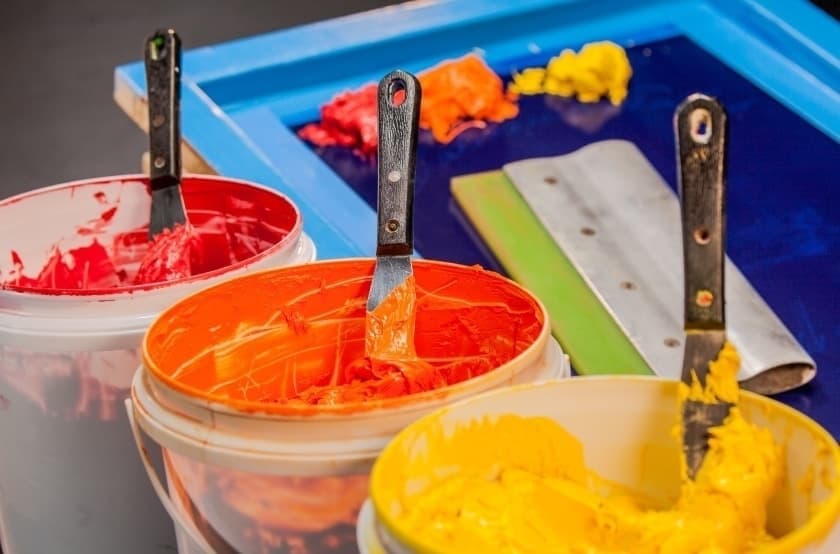
- Opaque plastisol ink
Tip: If you mix adhesive into the opaque plastisol ink, it will give it more volume and generates a thicker buildup onto your transfer paper.

Hot vs Cold Peel Transfers
The way a heat transfer works is by taking plastisol ink and printing it onto transfer paper. By doing this, it allows the plastisol ink to release onto the shirt when it is heat pressed. A commonly used type of transfer paper is hot peel paper, also known as hot split transfers. It is used on light colored shirts and has a soft hand.
The transfer is removed within a few seconds of the application and splits the ink onto the shirt as well as leaves some leftover ink on the transfer paper. Another type of paper is called a cold peel transfer. Cold peel transfers are not peeled off until the print has completely cooled and does not leave any leftover ink on the paper allowing a full ink deposit on the garment.
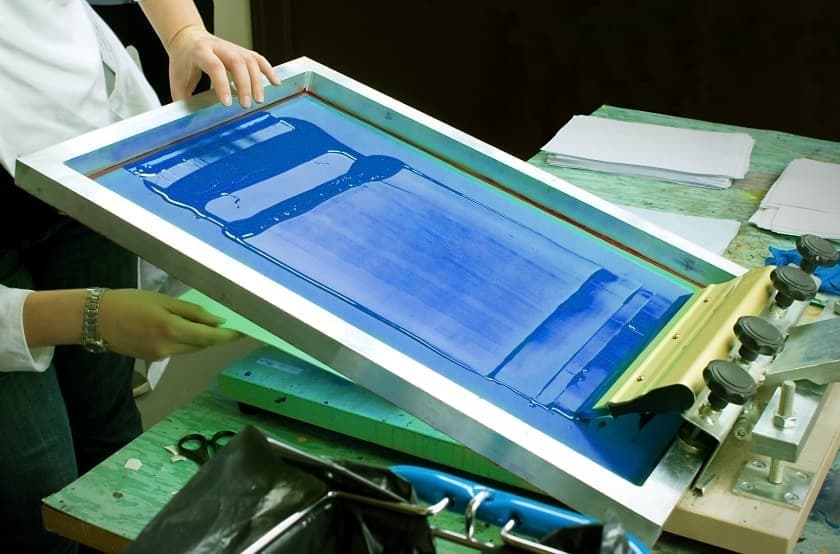
Prepping Screen Print Transfers
When you are screen printing transfers, you want to create a thicker stencil in order to lay down more ink for your design. As opposed to a shirt, you have to apply more ink onto a transfer paper so it will accurately show the finished design.
- Use the round side of the scoop coater in order to deposit a thicker layer of emulsion onto your screen.
- Coat the outside of the screen and then the inside of the second screen with a 1:1 coating method.
- Create a thicker ink buildup on the transfer paper so it has the ability to transfer onto the garment.
- Remember to do the reverse image of your screen. The best way to do this is by selecting the mirror button when you print out your image on film or direct-to-screen printer.
Multicolored Transfers
If you are working with a multicolored design:
- Preheat the transfer paper by putting it through the dryer at a standard temperature. You can speed up the belt slightly to not overheat the transfer paper. If this is not done, the paper will shrink when flashing between colors and inevitably move your design, losing registration.
- After putting your paper through the dryer, align the image to the pre-shrunk transfer paper to make registration marks.
- For those who plan on creating several transfer prints for their printing business, using a vacuum platen can be helpful since it keeps the paper flush, consistent with each print, and does not require any adhesive. If you do not own or want to purchase a vacuum platen, then simply use spray tack for adhesion.
- For a transfer with multiple colors, the design is printed in reverse. The front color is printed first while the back color is printed last.
- Having adhesive properties is a must in order to print plastisol transfers. Some options are to use adhesion powder, an adhesion additive that you mix into the ink or an adhesive screen printable glue. If you opt to use adhesion powder, make sure you have wet ink on the background of your shirt since the adhesive will not stick to dry ink.
- If you flash between colors and the second color does not cover the entire design, then you can additionally use a clear underbase so it will have a smooth finish on the shirt.
Now that you know how to make screen print transfers, turn to EXILE Technologies for pre-press equipment that can create high quality images for screen printing. We offer informational blogs, trade show demonstrations, and screen printing tips to help screen printers and their businesses grow.