When using a DTG printer, your aim should always be to produce flawless designs. Unfortunately, sometimes you may notice stains, crystallization or bleaching from the pretreatment used on the garment. If you do notice imperfections on your garments and are unsure of what you should do to fix this issue, we are here to help. This blog will detail the possible causes of DTG pretreatment stains and provide solutions for removing them from prints so you can get back to printing smooth, flawless designs without the worry of blemishes.
Importance of Pretreatment
The purpose of pretreatment is to act as a bonding agent, and it is especially necessary when using white ink on dark garments. Pre treat serves as a barrier ensuring that the ink will print onto the garment rather than seep its way into the material and creates high quality designs for your products. Without using pretreatment on dark garments, your design will not be seen, which makes it critical to not skip this step.
Simple Steam Fix
A simple option to lessen minor pretreatment stains on certain garments is to manually steam the garment. This can be quite effective and is a quick fix to help reduce pretreatment stains from ruining your overall product. Simply plug in your steamer and use it like you would any other article of clothing that needs additional steaming.
Pretreatment Overload
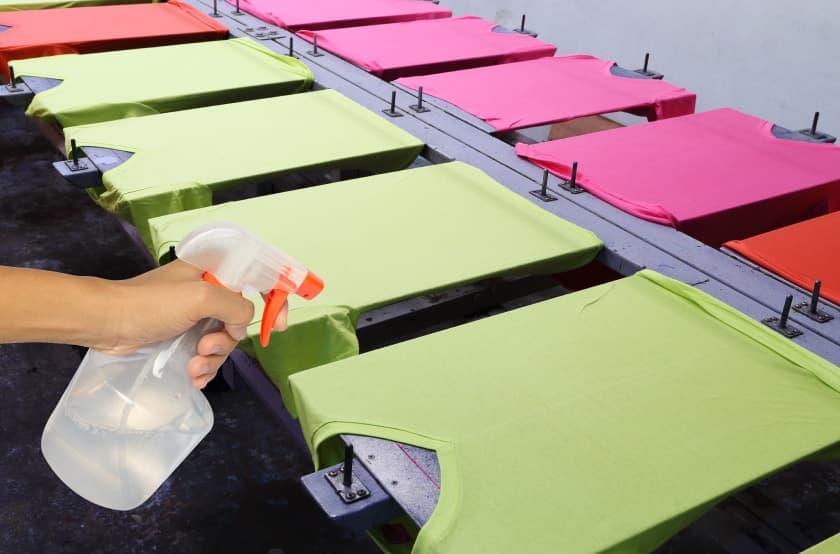
If you are applying too much pretreatment, issues within your designs can occur. If after heat pressing the garment, you see spotting in your designs or stains in the fabric you most likely applied too much pretreat. This is more likely to occur with the use of a hand sprayer rather than with pretreatment equipment. A hand sprayer can sometimes make it difficult to judge whether or not you are evenly applying the right amount of treatment to each garment. Depending on the color, fabric, and what design you are printing on the garment will determine how much pretreatment should be applied.
For example, a garment that contains polyester is more likely to stain as opposed to using a garment made out of cotton. In addition, thinner garments usually require less pretreatment than thicker materials. If you are working with red garments, you’ll want to use more pretreat than you would on white articles of clothing and less than on black garments.
Make sure that the pretreatment spray you’re using has a high volume, low pressure sprayer. It helps if you are using a quality pretreatment machine as well. Mix the pretreatment with distilled water using a 2:1 ratio and apply an even coat so the garment is wet but not soaked with the liquid. Spray evenly and brush in the fluid by using smooth, even strokes. Similarly, you could squeegee in one direction in order to get an even coverage as well as to flatten the fibers of the garment that can cause spotting.
High Heat & Pressure Stains
High heat can result in bleaching and ruin your garment. If bleaching stains are an issue, your temperature may be set too high during the pretreatment process, causing the material to burn. Your temperature should be set to 320-325 degrees.
Another solution to this problem is to press the garment in 10 to 15 second intervals with a light medium pressure during the curing process instead of for 30 seconds. If you notice a lot of steam from the start, you can then adjust your interval time for shorter durations. Repeat this interval process approximately two to three times depending on the type of garment you are printing on.
After curing your pretreatment, you can raise the temperature once again and continue garment printing for approximately 90 seconds with slightly less pressure than you used when curing the pretreatment. One way to measure the proper amount of pressure is by barely pulling out the parchment paper covering your garment. Once you get to this point, turn the knob one full turn. The advantage of working in intervals and adjusting pressure gives the steam a chance to come out of your DTG printer and minimizes bleach and staining on your garments.
Even though this process takes up more time, it allows the pretreatment to fully dry and for the ink to cure. This produces a quality product and eliminates the issue of the garment getting overly hot to the point where it burns.
Yellowing or Scorching Stains
Light garments, especially white garments have a greater chance of acquiring yellow or scorch stains. Similar to heat and pressure stains, you can lower the temperature and extend the time or work in short intervals to prevent issues from occurring. Another option is to add additional layers of parchment paper or teflon sheets to give extra protection to your garment. If you have only been using one sheet, try adding a second layer and see if this addition helps.
Crystallization Issues
A less common issue that can happen with DTG printing is crystallization. Rather than discoloration, the pretreated area could form small salt-like crystals on the garment. This crystallization effect happens when the water in the pretreat is trapped due to it being pressed. If this happens, you can reduce the pressure or check that the sheet of paper you are using is not of poor quality, as low-quality parchment paper can offer a similar effect.
Lower the press so it can hover above the garment for approximately 10 seconds. If you notice a large amount of steam coming out of your machine, lift the press and allow the steam to dissipate. If hovering is not an option with your press, you can avoid crystallization by doing short intervals. This method allows the steam to escape from the press.
Here To Help
With any kind of issue you may face using DTG printing, Exile Technologies offers excellent service and support whether onsite, over the phone or via the web. We offer innovative pre-press solutions that fits the needs of your large or small screen print business and we provide DTG printers that offer beautiful and smooth designs.


