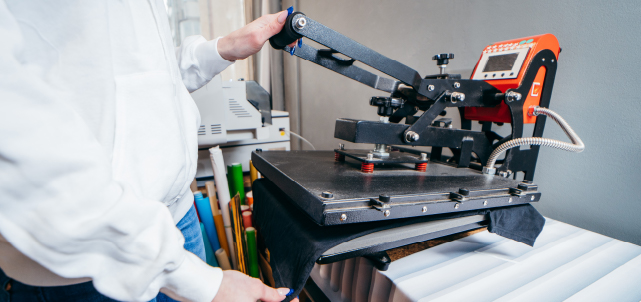
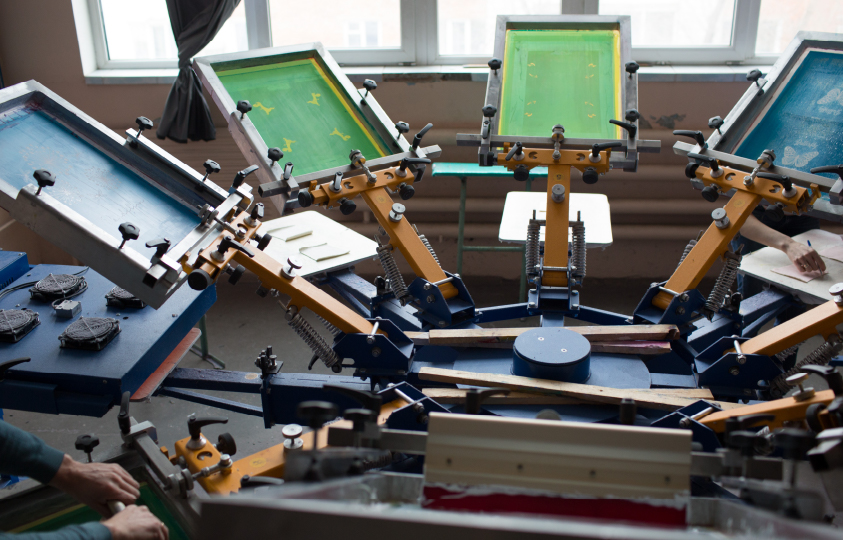
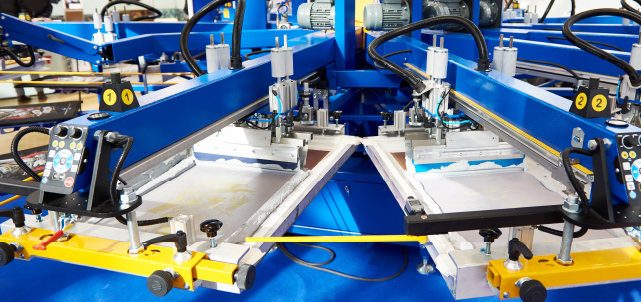
Looking to add a personal touch to clothing or fabric projects? Screen print transfers are a great option! In this blog post, we walk through the process of how to make screen print transfers, from the essential materials and tools to step-by-step instructions. Plus, we’ll share invaluable tips and tricks from years of screen-printing experience, ensuring your creations are flawlessly executed.
Tools and Materials
These tools and materials are the backbone of the screen print transfer process, which creates professional-quality prints with ease and precision. Whether using plastisol ink and a heat press for traditional screen printing or experimenting with water-based ink and transfer paper for heat transfers, having the right equipment is key to achieving optimal results.
Screen Printing Mesh
This fine mesh is the foundation for screen print transfers, allowing precise ink application onto the chosen fabric.
Emulsion and Sensitizer
Essential for creating the stencil on the screen printing mesh emulsion forms a light-sensitive coating that, when mixed with sensitizer, enables the transfer of the design onto the mesh.
Ink
Whether traditional plastisol ink for vibrant, durable prints or water-based ink for eco-friendly alternatives, selecting the suitable ink is crucial for achieving the desired results in screen print transfers.
Transfer Paper
Also known as heat transfer paper, this specialized paper facilitates the design transfer from the screen to the fabric when subjected to heat and pressure.
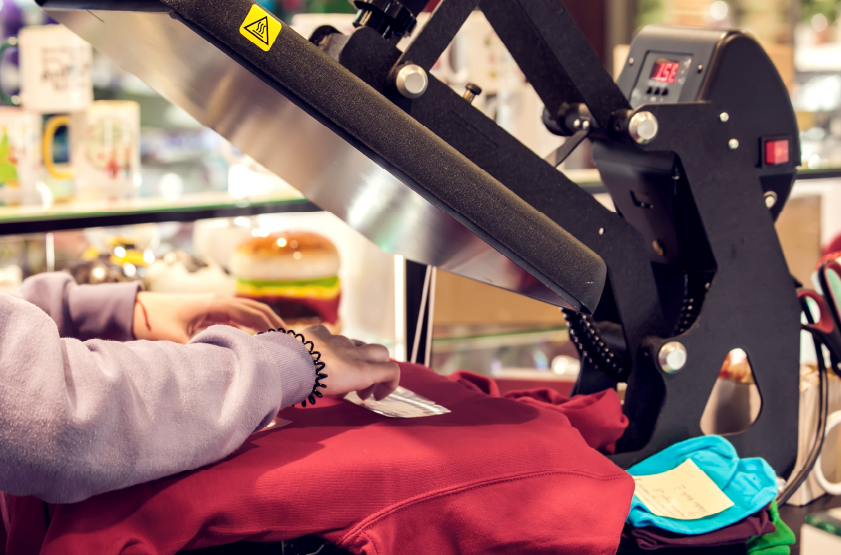
Heat Press or an Iron
An indispensable tool for applying heat and pressure during the transfer process, ensuring the adhesion of ink onto the fabric for lasting, high-quality results.
Light Source
Utilized in conjunction with emulsion and sensitizer to cure the stencil onto the screen printing mesh, a suitable light source is essential for achieving crisp, well-defined designs.
Squeegee
This versatile tool is used to evenly distribute ink across the screen printing mesh, ensuring thorough coverage and precise transfer of the design onto the fabric.
Instructions
Below are the basic step-by-step instructions to follow to make a screen print transfer. Adjustments can be made based on the specifics of the project and materials. The screen print transfer process can be broken down into two stages: preparing the screen and transferring the design.
Preparing the Screen
- Select the design. Choose the design to transfer onto the fabric. Ensure it is appropriately sized for the project and compatible with the type of transfer utilized (e.g., screen print, heat transfer).
- Prepare the screen. Coat the screen printing mesh with emulsion following the manufacturer’s instructions. Once coated, leave the screen in a dark, dry area to dry completely.
- Transfer the design. Place the design onto a transparent sheet or film and print it out. Remember to mirror the image if using a screen print transfer method, as this ensures the design appears correctly on the fabric.
- Expose the screen. Secure the printed design onto the coated screen printing mesh, ensuring it is properly aligned. Expose the screen to a suitable light source for the specified duration, as indicated by the emulsion manufacturer’s guidelines. This process will create a stencil of the design on the screen.
Creating the Transfer
- Preheat the transfer paper slightly to prepare it for receiving the ink.
- Stir the plastisol ink thoroughly to ensure it’s well-mixed and ready for printing.
- Apply a generous amount of ink onto the screen and use a squeegee to press it through the mesh onto the transfer paper, transferring the mirrored design.
- Sprinkle a fine layer of adhesive powder onto the wet ink on the transfer paper. This helps the ink adhere better to the fabric during the heat transfer process.
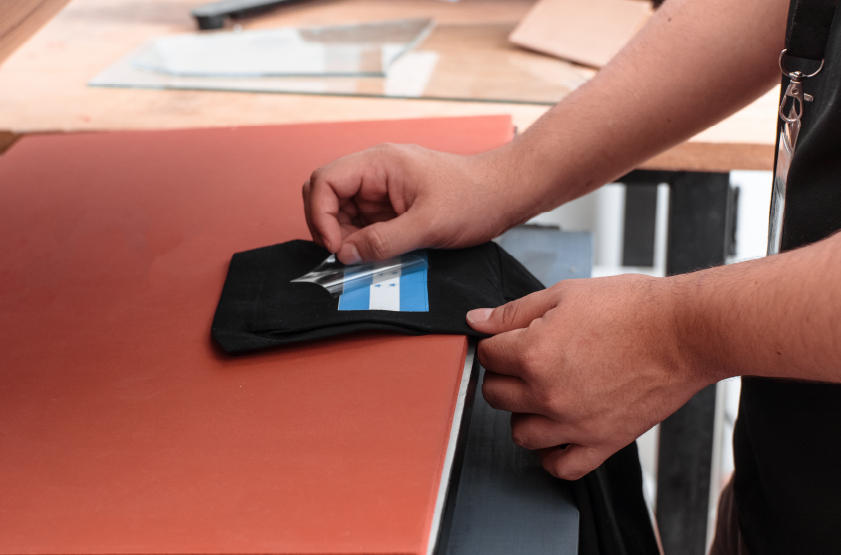
- Carefully lift the transfer paper with the freshly printed design and place it onto the fabric in the desired position.
- Conduct a test transfer on a scrap piece of fabric to ensure proper adhesion and transfer of the design.
- Place the fabric with the transfer paper onto a heat press, ensuring proper alignment. Apply heat and pressure according to the manufacturer’s recommendations for plastisol ink transfers.
- After the heat transfer process is complete, perform a stretch test on the fabric to ensure the design adheres securely without cracking or peeling.
- Clean the screen, tools, and work area thoroughly to remove any ink residue and maintain the longevity of the equipment.
Tips and Tricks
By following these tips and tricks, the quality and success of screen print transfers can be enhanced, whether using plastisol ink and a heat press or experimenting with water-based ink and transfer paper. Attention to detail and proper preparation are key to achieving outstanding results and unlocking the full potential of this versatile printing technique.
Selecting the Correct Ink for the Substrate
When choosing ink for screen print transfers, it’s crucial to consider the substrate on which to print. Different fabrics and materials may require specific types of ink for optimal adhesion and durability. For instance, plastisol ink is ideal for printing on fabrics like cotton and polyester, offering vibrant colors and excellent washability. On the other hand, water-based inks are preferred for natural fibers like cotton and produce softer, more environmentally friendly prints. By matching the ink type to the substrate, the prints will adhere well and maintain their quality over time.
Always Test on Scraps First
Before committing to the final design, it’s wise to conduct a test run on scrap fabric or material. This allows you to assess factors such as ink coverage, color accuracy, and adhesion to the substrate. Testing on scraps also provides an opportunity to fine-tune variables such as pressure, temperature, and curing time if using a heat press. By identifying and addressing any potential issues early on, costly mistakes can be avoided.
Clean Screen and Tools Properly
The proper maintenance and cleaning of the screen and tools are essential for achieving consistent and high-quality screen print transfers. After each use, thoroughly clean the screen with a gentle solvent or emulsion remover to remove any ink residue and prevent clogging of the mesh. Similarly, clean the squeegee and other tools to prevent cross-contamination and maintain their effectiveness. Regular maintenance not only prolongs the life of the equipment but also ensures that the prints remain crisp and professional-looking with each use.
Incorporating Technology
Incorporating CTS (Computer-to-Screen) technology into the screen printing process offers a multitude of benefits, such as unparalleled accuracy and precision in creating screens for transferring designs onto substrates. This advanced technology also streamlines the screen preparation process, eliminating the need for manual film positives and reducing the margin for human error, and it enhances speed and efficiency, allowing for rapid creation and replication of screens with consistent results. With CTS, printers can optimize their production workflow, minimize downtime, and ultimately deliver superior-quality prints to meet the demands of their clients efficiently and effectively.
Innovating the Screen-Printing Process
Mastering the process of how to make screen print transfers unlocks a realm of possibilities for personalized clothing and fabric projects. Whether utilizing a heat press or traditional screen printing methods, attention to detail and practice will lead to stunning results.
At EXILE Technologies, we specialize in pre-press solutions, making us a go-to partner for screen printing. Our innovative CTS technology revolutionizes screen preparation, enabling seamless production of transfers with unmatched efficiency. By utilizing CTS technology, printers can significantly reduce costs, save time, and enhance workflow efficiency. Elevate your screen-printing production by contacting our team today.
